Thursday, March 29, 2007

Thursday, March 22, 2007
Do The Greats Do These Bits?
I wonder. Hmmm. The clay mould set hard, then had to be prised apart, then carefully scrubbed clean. It took ages to get the little bits of clay out of every nook and cranny. Then the whole thing needed basting with engine oil - seriously! All of that took 2 sessions - 5 hours; Henry Moore eat your heart out. Apparently he just made everything in polystyrene or found an interesting stone and then told some workmen to replicate. One day, one day ... anyway here is the oiled mould:


Thursday, March 15, 2007
Plaster Mould

Plaster is thrown at and pasted onto the clay to form the mould. You can see the line of clay on top of the shims, effectively keeping the 2 plaster halves apart. This will enable the two sides of the mould to be easily prised apart. The plaster needs to be about an inch thick.
Thursday, March 08, 2007
Shimming

A plaster mould will next be made from the clay model. This mould needs to be in 2 sections and to achieve this, a barrier of metal "shims" is created through the middle of the model. I had to use cut up pieces of old beer cans. These need to fit very snugly together to prevent any plaster bleeding through the divide. An edge of clay is added to act as a clear marker once plaster is added.
Thursday, February 22, 2007
Greeks

Well, the head is looking better with some hair and the ears are now not bad. Last week I visited the British Museum. I wanted to get some ideas of how sculptors down the ages had created ears and eyes. The Greek statues have blank eyes like this, apparently because they were originally painted. Anyway, next I'll try to do something with the eyes.
Final Clay

It was really difficult to get the eyes right and I needed Paul's advice.
In the end I went for gouging out a hole to indicate the pupil and made a slight indent for the eyeball. This is the final clay model - it does have a hint of me I think. Next I will need to make the plaster mould.
Thursday, February 15, 2007
Clay Head Progress
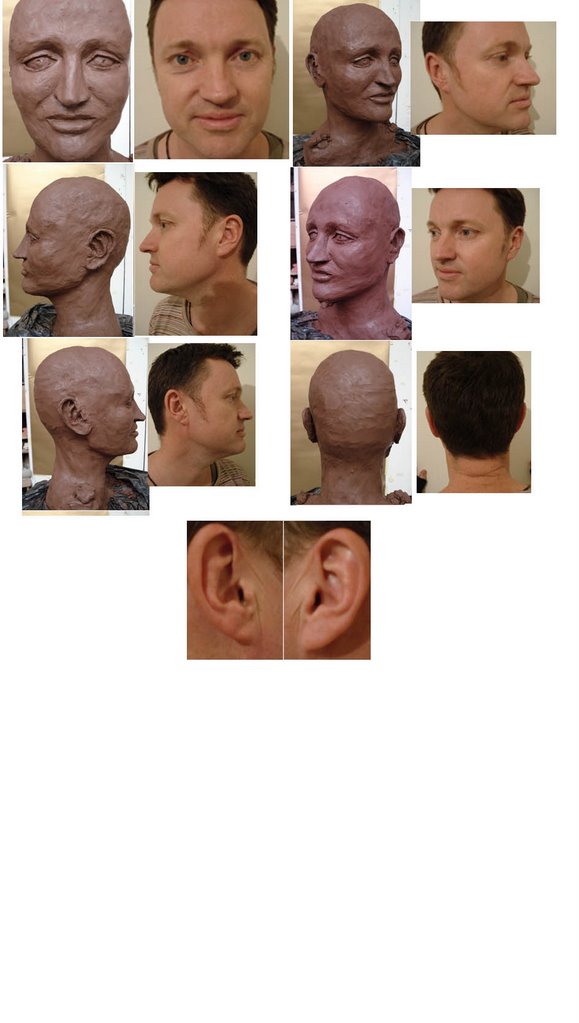
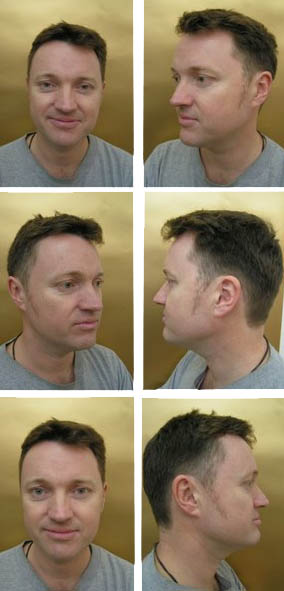
Progress has been slow, but it does take time to get not only the individual features right (or at least plausible) in themselves but also in relation to each other and as a whole. I get Paul's feedback every now and then and find out: ears are not just stuck on but flow from the cheek, lie behind the jawline and always contain a C and a Y; lips do not end in points, they are rolls of flesh; your eyes are actually quite far back into your head and round to the side.
I created these comparison photo montages using Photoshop - they will help me sort out where the sculpture needs tweaking!

I created these comparison photo montages using Photoshop - they will help me sort out where the sculpture needs tweaking!

Thursday, February 01, 2007
Head progress
Another 2 and a half hours with a little progress – worked on the mouth and face shape. I had been away for couple of weeks so was glad I had wrapped the model tightly in a plastic bag so as to retain moisture. It was still perfectly workable.

I think it's human anyway.

Maybe some ear work next?


I think it's human anyway.
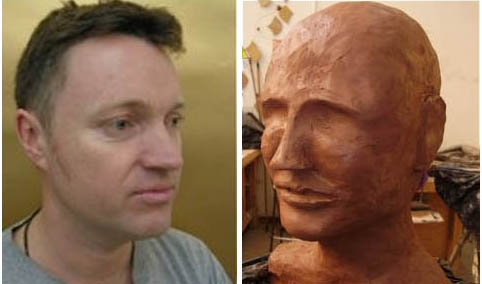
Maybe some ear work next?

Thursday, January 11, 2007
Cement Fondue 2
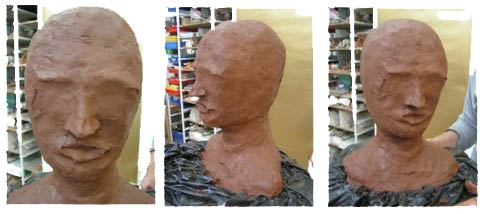
Following Paul’s direction, rolled up newspaper in a rough head shape is put in a plastic bag and wound round a wooden block, tied with fine wire. Clay is then moulded onto this basic frame. This is hard work. Will it be human?
Cement Fondue
Thursday, December 14, 2006

Monday, December 04, 2006
Lost Wax Process
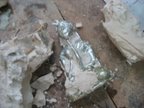
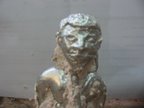
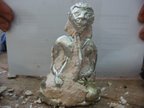
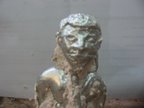
The wax model was encased in a plaster mould and left for a week. The mould was shaved to fit the wax melter in the studio and then I melted out the wax, which took a while as the whole mould had to get hot enough to melt the wax in the head. Then I cut up and melted some low melt metal in a saucepan - Paul says it is primarily tin - it's pretty soft. The liquid metal was then poured in to the mould. I had made wax sprues on the model to allow the molten metal to flow to the head and other difficult areas. Then, the moment of truth: the plaster is broken away and sure enough here is a metal version of my wax sculpture! You can see the sprues, from the chin to the lap for instance, which now need filing off.




Monday, November 27, 2006
The Collected Works
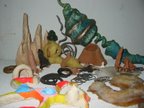 Here's a shot of the collected works so far! It's been good to try so many different techniques.
Monday, November 20, 2006
Wax Sculpture
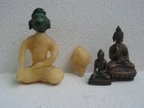 This week I thought I'd try wax sculpture. I have been collecting Buddhist and Hindu images for nearly 20 years and the finest pieces are often created via the lost wax process, whereby a mould is made around a wax model, the wax melted out ("lost") and hot metal poured in. The two metal Buddhas in the photos are from my collection - the larger one is a particularly serene and beautifully crafted Nepali bronze.
 Could I make my own lost wax Buddha? I soon found out that carving something beautiful in wax is quite difficult and that sadly I am not yet very skillful! Given the looming end of term, I decided just to create a recognisable meditating figure and be happy with trying the process. I started off using a harder green wax for the face, although ultimately I used the softer yellow wax for the whole figure. It is interesting to note how different and more pliable the wax becomes once it heats up due to handling.
Monday, November 06, 2006
Latex Moulds from Metal Buddha Sculptures
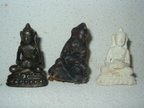
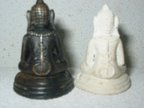 After testing that the latex would not stain the Buddha statues - actually it cleaned them up a bit - these 2 Buddhas were painted with progressive layers of latex over a 2 and half hour session. Gaps like under the arms of the metal sculptures were filled in with small bits of wax. Without this the mould would not come off easily as the latex would form a loop around the shoulders. By the following week the latex moulds were ready, carefully peeled off and then cast in plaster. There was an odd air bubble but the result was quite good generally. In the pictures below you can see from left to right: the metal sculptures, the latex mould and the plaster cast from the latex mould.
Monday, October 30, 2006
Casts from Clay Imprints

These plaster Buddhas were made by pushing the metal Buddha statues (dark in these photos) into soft clay, carefully taking them out and then pouring plaster into the resultant impressions. Really quick to make and surprising detail can be achieved.

Monday, October 23, 2006
Woodcarving


There was a cube of lime wood kicking around the studio which someone appeared to have practised their drilling skills on. Paul gave it to me to try out some wood carving. I started by carving out the drilled holes, originally hoping to make a statue of some kind. However the drill holes were pretty deep so I ended up with a mountain range! It's quite hard work on the right wrist and hand using the carving tools. I then spent quite a while more over the weeks carving out the inside of this model.
Monday, October 16, 2006
Latex Moulds

 Also in Week 3 , I made a rough clay sculpture of a devil kind of figure, purely to test making a latex mould. This involved painting layers of latex every 20 mins or so onto the clay model and finally putting pieces of scrim into the latex to strengthen it.
By the following week I had a mould from which I then cast a devil in plaster, gaudily painted later at home I am afraid.
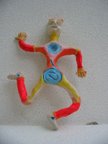 Surprsingly a lot of the detail such as the small fingers did actually come out OK. This model was quite brittle though and needed gluing when it broke; probably should gave used better quality plaster.
Week 3: Clay

I made some clay models this week. Gritty grey clay comes out white when fired.

The softer brown clay does not change so much in the kiln.
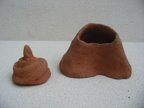
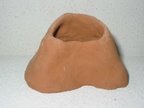 I am interested in caves this week - very primeval
Monday, October 09, 2006
Week 2: Plaster on Wire
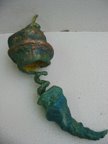
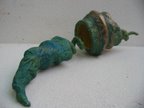
 Week 2, I took one of the wire sculptures I had made in Week 1 and wrapped it in gauze impregnated with plaster - I am sure there is a posh word for that but I have forgotten it. Anyway, I bound the armature wire curves in this material, which is very similar to the plaster you would put on a broken limb. It dries and hardens quite quickly. I took it home and painted it in sea blues and greens and golds. I might make a bigger version of this piece; I like it.
Subscribe to:
Posts (Atom)