Showing posts with label Ciment Fondue. Show all posts

Thursday, May 24, 2007

The Finished Cement Fondue Head

enjoys the flowers in a postage stamp garden!
Having repaired the broken ears, filled in a few holes, filed down the rough edges and made a base with Paul's help, the final model was left to set. It's important to keep the sculpture wrapped in wet cloths and therefore damp so that the cement will set properly.

4 different pastes were then used to bring out the bronzelike finish shown here: a graphite paste, two types of bronze paste and a turquoise - what's it called Vertigina or something? Each was buffed up with a rag to bring out the finish.

Behind you!

Saturday, May 12, 2007

Chipping Out Of The Mould


I break away the plaster mould and finally the cement fondue head appears. Clare does the same. Unfortunately my ears are not complete as I had not got enough cement or fibre glass into these narrow gaps. Pieces break off but this can be repaired with goo (cement & water). Also, the pieces of plaster must all be chipped off and the sculpture washed.

Thursday, April 26, 2007

Getting There

Back for the summer at MWC. Have now made two cement and one fibre glass & "goo" layer inside the oiled mould. The cement is made by mixing cement:sand:water in the ration 6:2:1. A thin layer is pressed into the mould, ideally only a few grains thick, so that it doesn't move. I messed this bit up a bit second time around and expect to see the effects when the final objet d'art is revealed next week! The goo is custard constituency cement and water and the fibre glass for which you need a mask and gloves is easily broken up from a big sheet into little pieces. We wet it first to minimise dust and then just pulled it apart. Cutting is not advisable as it produces more glass shards & dust. Finally when the layers were in place, the two sides of the mould were put together, fastened with rubber bands and then a final layer of fibre glass and goo was pasted across the joins. The base was also strengthened with goo and fibre glass. The whole is then wrapped up with wet cloths and inside plastic bags. The cement would not set properly without this apparently. Fingers crossed.

Thursday, March 22, 2007

Do The Greats Do These Bits?

I wonder. Hmmm. The clay mould set hard, then had to be prised apart, then carefully scrubbed clean. It took ages to get the little bits of clay out of every nook and cranny. Then the whole thing needed basting with engine oil - seriously! All of that took 2 sessions - 5 hours; Henry Moore eat your heart out. Apparently he just made everything in polystyrene or found an interesting stone and then told some workmen to replicate. One day, one day ... anyway here is the oiled mould:

Thursday, March 15, 2007

Plaster Mould


Plaster is thrown at and pasted onto the clay to form the mould. You can see the line of clay on top of the shims, effectively keeping the 2 plaster halves apart. This will enable the two sides of the mould to be easily prised apart. The plaster needs to be about an inch thick.

Thursday, March 08, 2007

Shimming


A plaster mould will next be made from the clay model. This mould needs to be in 2 sections and to achieve this, a barrier of metal "shims" is created through the middle of the model. I had to use cut up pieces of old beer cans. These need to fit very snugly together to prevent any plaster bleeding through the divide. An edge of clay is added to act as a clear marker once plaster is added.

Thursday, January 11, 2007

Cement Fondue 2


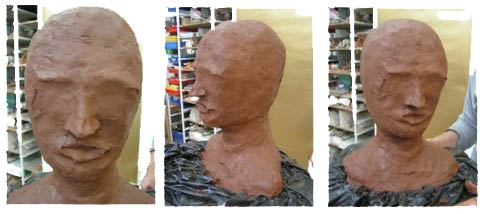
Following Paul’s direction, rolled up newspaper in a rough head shape is put in a plastic bag and wound round a wooden block, tied with fine wire. Clay is then moulded onto this basic frame.
This is hard work. Will it be human?

Cement Fondue


This project is a head in Cement Fondue.
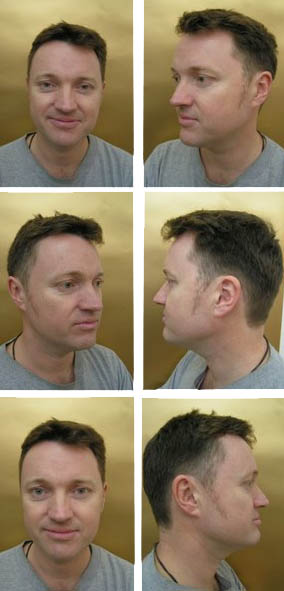
Heads seem to be pretty popular in this class. Unfortunately, the only available model is this guy …